Bridging Digital Experience with the Physical World;
Bringing Ideas to Life
Product designer with experience across automotive HMI, IoT, and enterprise software.
Currently designing future HMI at AUO
Master's at CMU MHCI
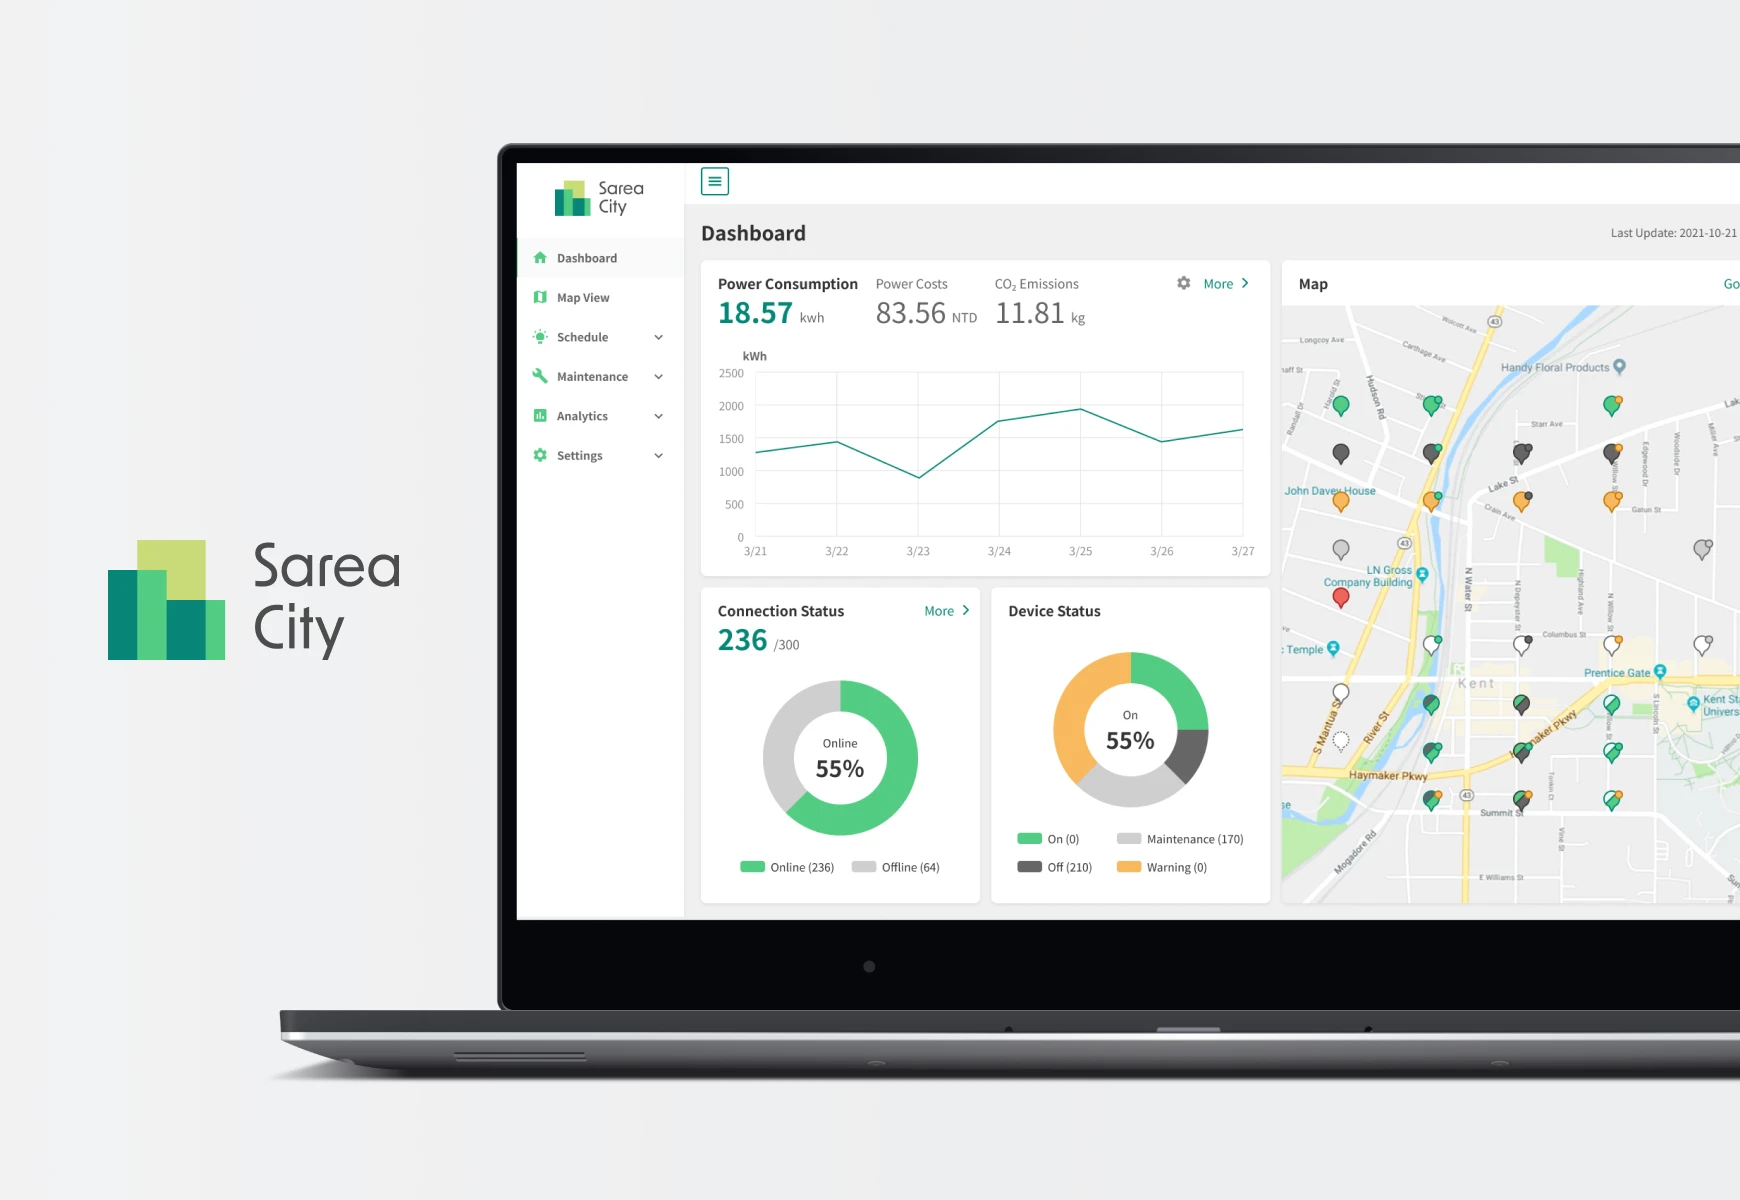
Sarea City
Smart Street Lighting Management Platform
Improving usability, maintenance efficiency, and adaptability across diverse use cases
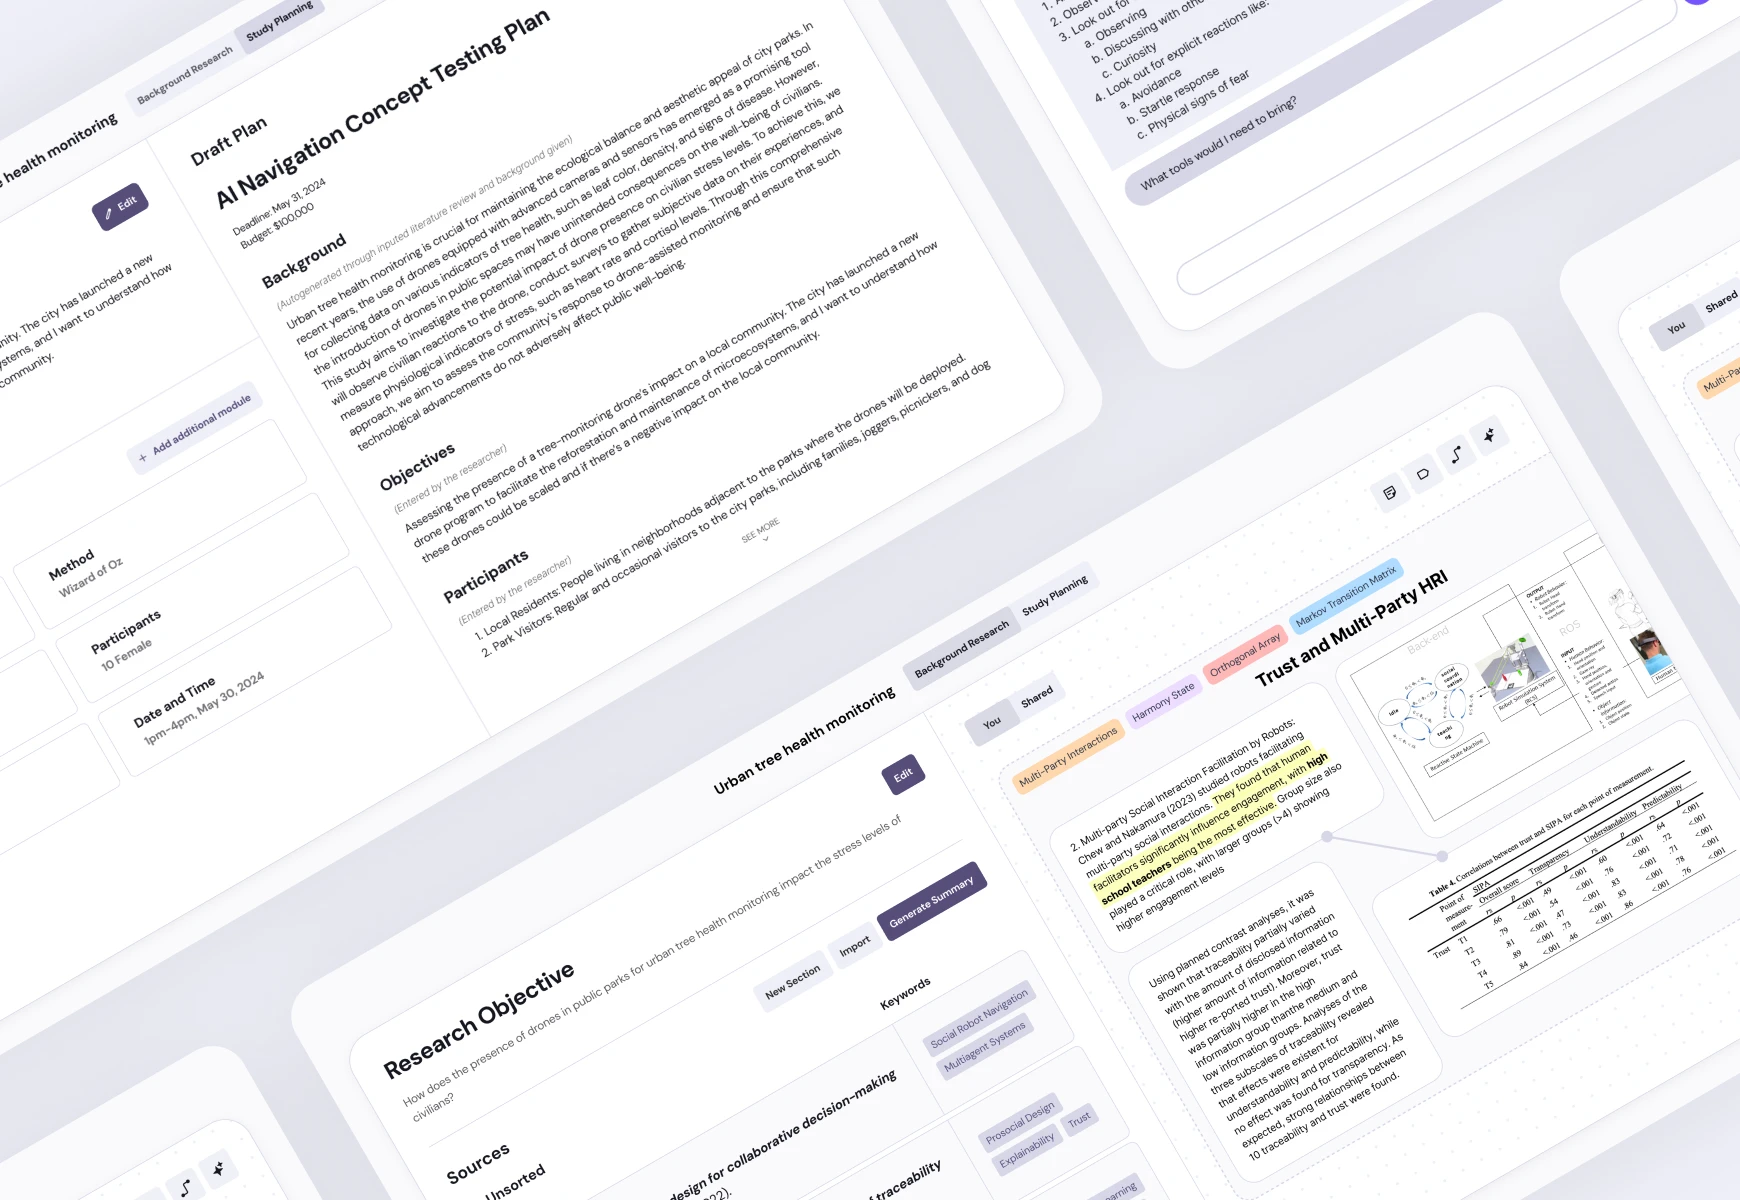
Aether
AI Research Assistant
Streamlining research workflows while evolving with your research and getting smarter over time
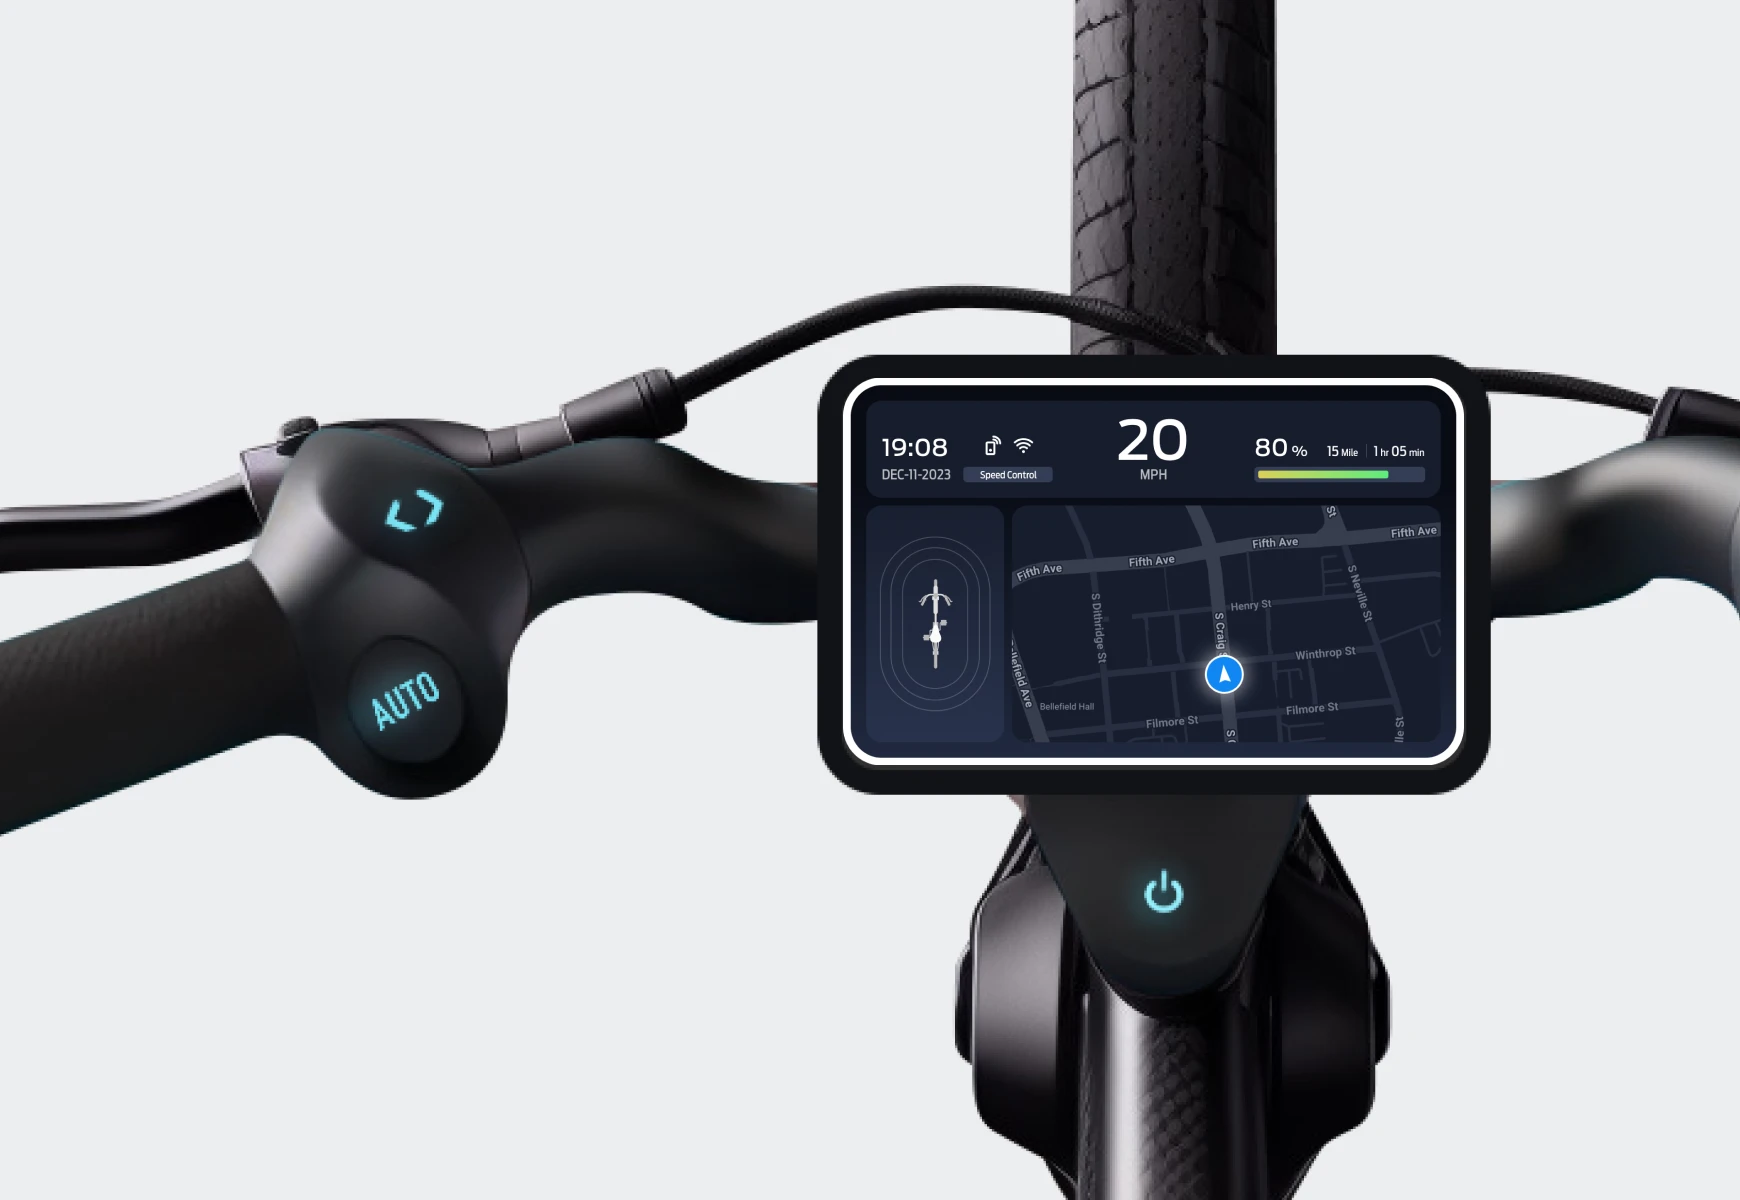
IntelliRide
Electric Bike Dashboard & Controls
Connecting digital and physical controls for seamless semi-autonomous riding experiences
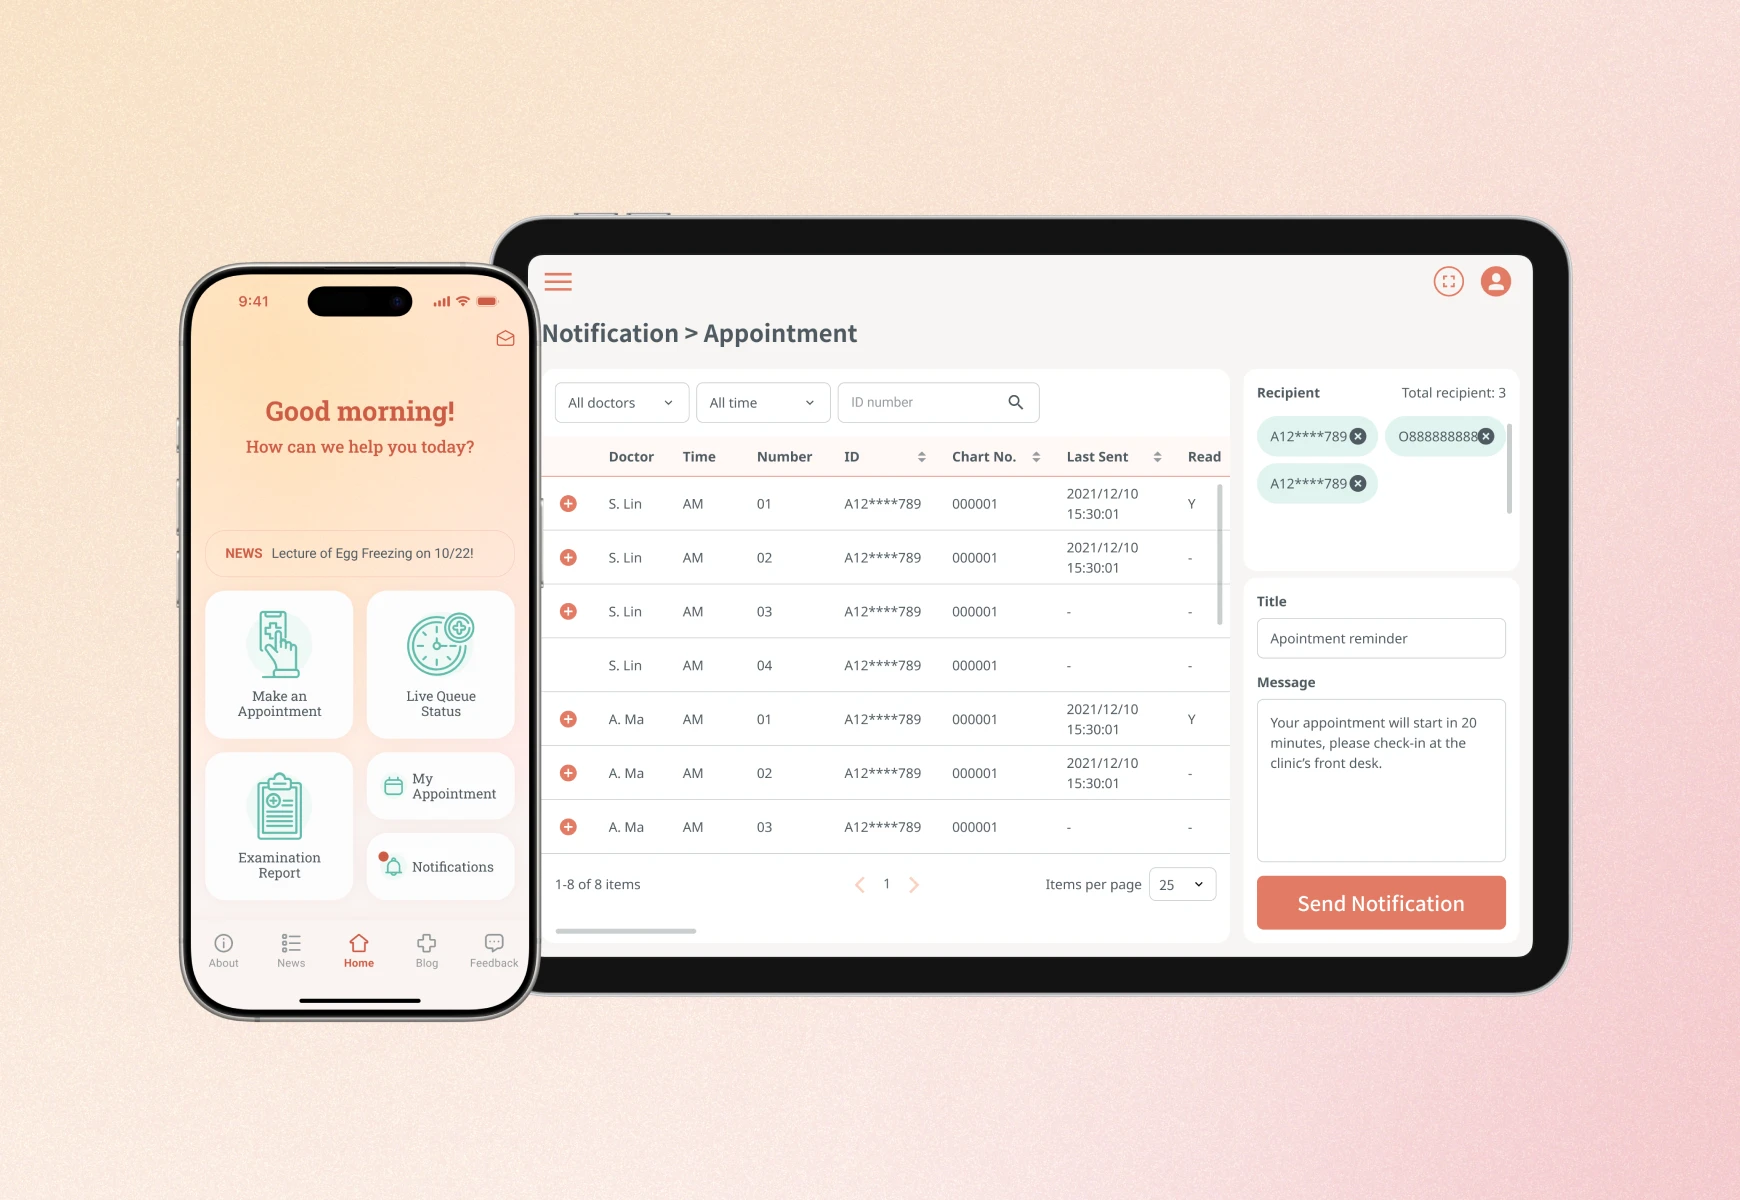
Fertility Center
Clinic App & CMS
Improving patient communication and simplifying content management for clinic staff